Rodrigo Martinez-Duarte
Microsystems Laboratory (LMIS4), École Polytechnique Fédérale de Lausanne, Station 17, CH-1015 Lausanne, Switzerland
Why is this useful?
The following tip describes an easy and inexpensive way to fabricate PDMS films of different thicknesses. The main advantages are that no infrastructure (e.g. a spin coater) is needed for fabrication and that the materials needed are readily available. The idea here is to use a film of a specific thickness as spacer between two plates. PDMS is first deposited on one plate and squeezed in between plates to get a PDMS film with thickness similar to that of the film used as spacer. A similar methodology could be used to make films of other materials as well.
This methodology allows for very quick fabrication of a wide range of PDMS films using off the shelf components which are common in a traditional laboratory and office or can be easily purchased. The final goal is to fabricate films which feature different thicknesses, according to the original film used as spacer, and different hardnesses, by changing the ratio of PDMS to cross linker. The film can be stored and used as needed to cut off parts such as gaskets, spacers, etc. Here in the lab we use them to make microfluidic chambers of specific thickness.
What do I need?
- 2 rigid plates with at least one flat surface per plate. They can be glass, PMMA (>3-4 mm thickness) or other material as long as they are rigid, preferably a fair thermal conductor and do not soften at temperatures up to 100°C. The use of transparent plates is not necessary but recommended to monitor the squeezing process of the PDMS and minimize the presence of bubbles in the final PDMS film
- Pieces of a film, which can be tape, pieces of a plastic bag or any film that does not compress or absorbs PDMS, with similar thickness to that being targeted for the PDMS film
- Paper clamps, binder clips
- General purpose soap or Mylar® film, the Mylar® film can be replaced by any film to which PDMS won’t adhere
- And of course, PDMS and the equipment recommended to process it: balance, degasser and oven. Although this equipment is recommended, it is not necessary, as already suggested by Aung K. Soe and Saeid Nahavandi in a previous Tip [1]
Where do I get it and how much will it cost me?
In principle all the materials required are already available in the lab. The two plates can be two pieces of glass, as simple as two glass slides or two old wafers, or pieces of plastic, polycarbonate or PMMA for example. I have used PMMA plates and old glass wafers. The cost of the plates can be minimal and should not be more than $10. For example, you could go and buy a couple of very cheap picture frames with a glass piece of the size you want and use those. The pieces of film you use depend on the final thickness of the PDMS film and they can be obtained from a variety of sources, use your imagination! The paper clamps or binder clips are usually available in the office, if not you can buy them for several cents apiece.
What do I do?
- Wear gloves before starting. PDMS can be messy! The materials needed are detailed above and shown in Fig. 1.
- A. Dip your rigid plates in soapy water for a couple of minutes to deposit a layer that prevents PDMS from adhering to the plates. Remove the plates and blow them dry or let them dry naturally, do not wipe dry!
Or alternatively:
B. You may want to use a Mylar® film in between the rigid plate and PDMS. Take care not to scratch the Mylar® film. The rationale behind using this Mylar® film is to eliminate the need for surface treatment of your plates to prevent adhesion of the PDMS to them. PDMS does not stick to Mylar® and therefore you can easily just peel the Mylar® film off after you fabricate your PDMS film. A further advantage is that you don’t need to worry about scratching your plates or about cleaning the plates each time you use them. Storing your PDMS film between Mylar® films can also help protect it against scratches. - Prepare your PDMS. Different ratios between the polymer and the cross-linker give different hardnesses. A 20:1 mix results in a gluey, soft film that easily sticks to a variety of materials. A traditional 10:1 results in a harder film. 5 grams of mix should be plenty for a couple of films featuring an area of 8 by 8 cm and thickness of up to 200 µm.
- A. If you treated the surface of the plates with soap: after the plates are dry (but still with the dried soap layer on them), you can position your spacer film close to the edges of the plate as shown in figure 2. Do this on only two edges to allow plenty of space for the PDMS to flow out from between the plates during step 7.
B. If you are using the Mylar® films: cut the film into a couple of pieces similar to your plates. You can then position the spacer film close to the edges of one of the Mylar® films. Leave some space in between the spacer films to allow PDMS to flow out while pressing in step 7. - After the PDMS is well mixed, manually deposit the PDMS mix on one plate treated with soap, or on the Mylar® film positioned on top of the plate, as shown in figure 3.
- Degas the previously deposited PDMS until the mix looks homogeneous (around 40 minutes in a general purpose degasser).
- Remove the arrangement from the degasser, place it on a flat surface and use the other plate to squeeze the PDMS in between the plates if you are using the soap-treating approach. If you are using the Mylar® films, then first lay the second film on top of the PDMS and then squeeze with the other plate. In both approaches, it is recommended to start applying pressure in one side and work your way towards the other side to avoid introducing bubbles in the PDMS.
- Use the paper clamps to clamp A) the plate-PDMS-plate or B) plate-Mylar®-PDMS- Mylar®-plate sandwich together at the location of the spacers as shown in figure 4.
- Bake for 1 hour at 80°C.
- Remove from oven and let cool for 5 min.
- A. If using soap: use a knife to remove the PDMS accumulated on the edges of the plates. This is important because it will facilitate the release of the PDMS film in the next step.
B. If using Mylar® films: unclamp your sandwich and retrieve your PDMS film in between the Mylar® films. You are done! - If using soap-treated plates: slowly but firmly separate the two plates, the PDMS film is likely to remain on one plate from where you can peel it off as shown in figure 5. Make sure you do it slowly to avoid rupturing the film. You may use fine tweezers to aid you during the release.
- You are done! You can store your film and later use a hole puncher, knife, etc. to cut off any feature you want.
- Clean the PDMS from your plates and store them clean for the next time. Avoid scratching the surface of your plates!
Notes
- Tape (175, 140, 70 and 50 µm thick) and plastified paper (50 µm thick) have been used as spacers.
- This methodology has been used to fabricate films as thin as 50-70 µm. The exact thickness of the PDMS film is difficult to measure due to the soft nature of the film.
- The use of soap may interfere with further applications of the PDMS film. However, here in the lab we haven’t seen any adverse effects so far.
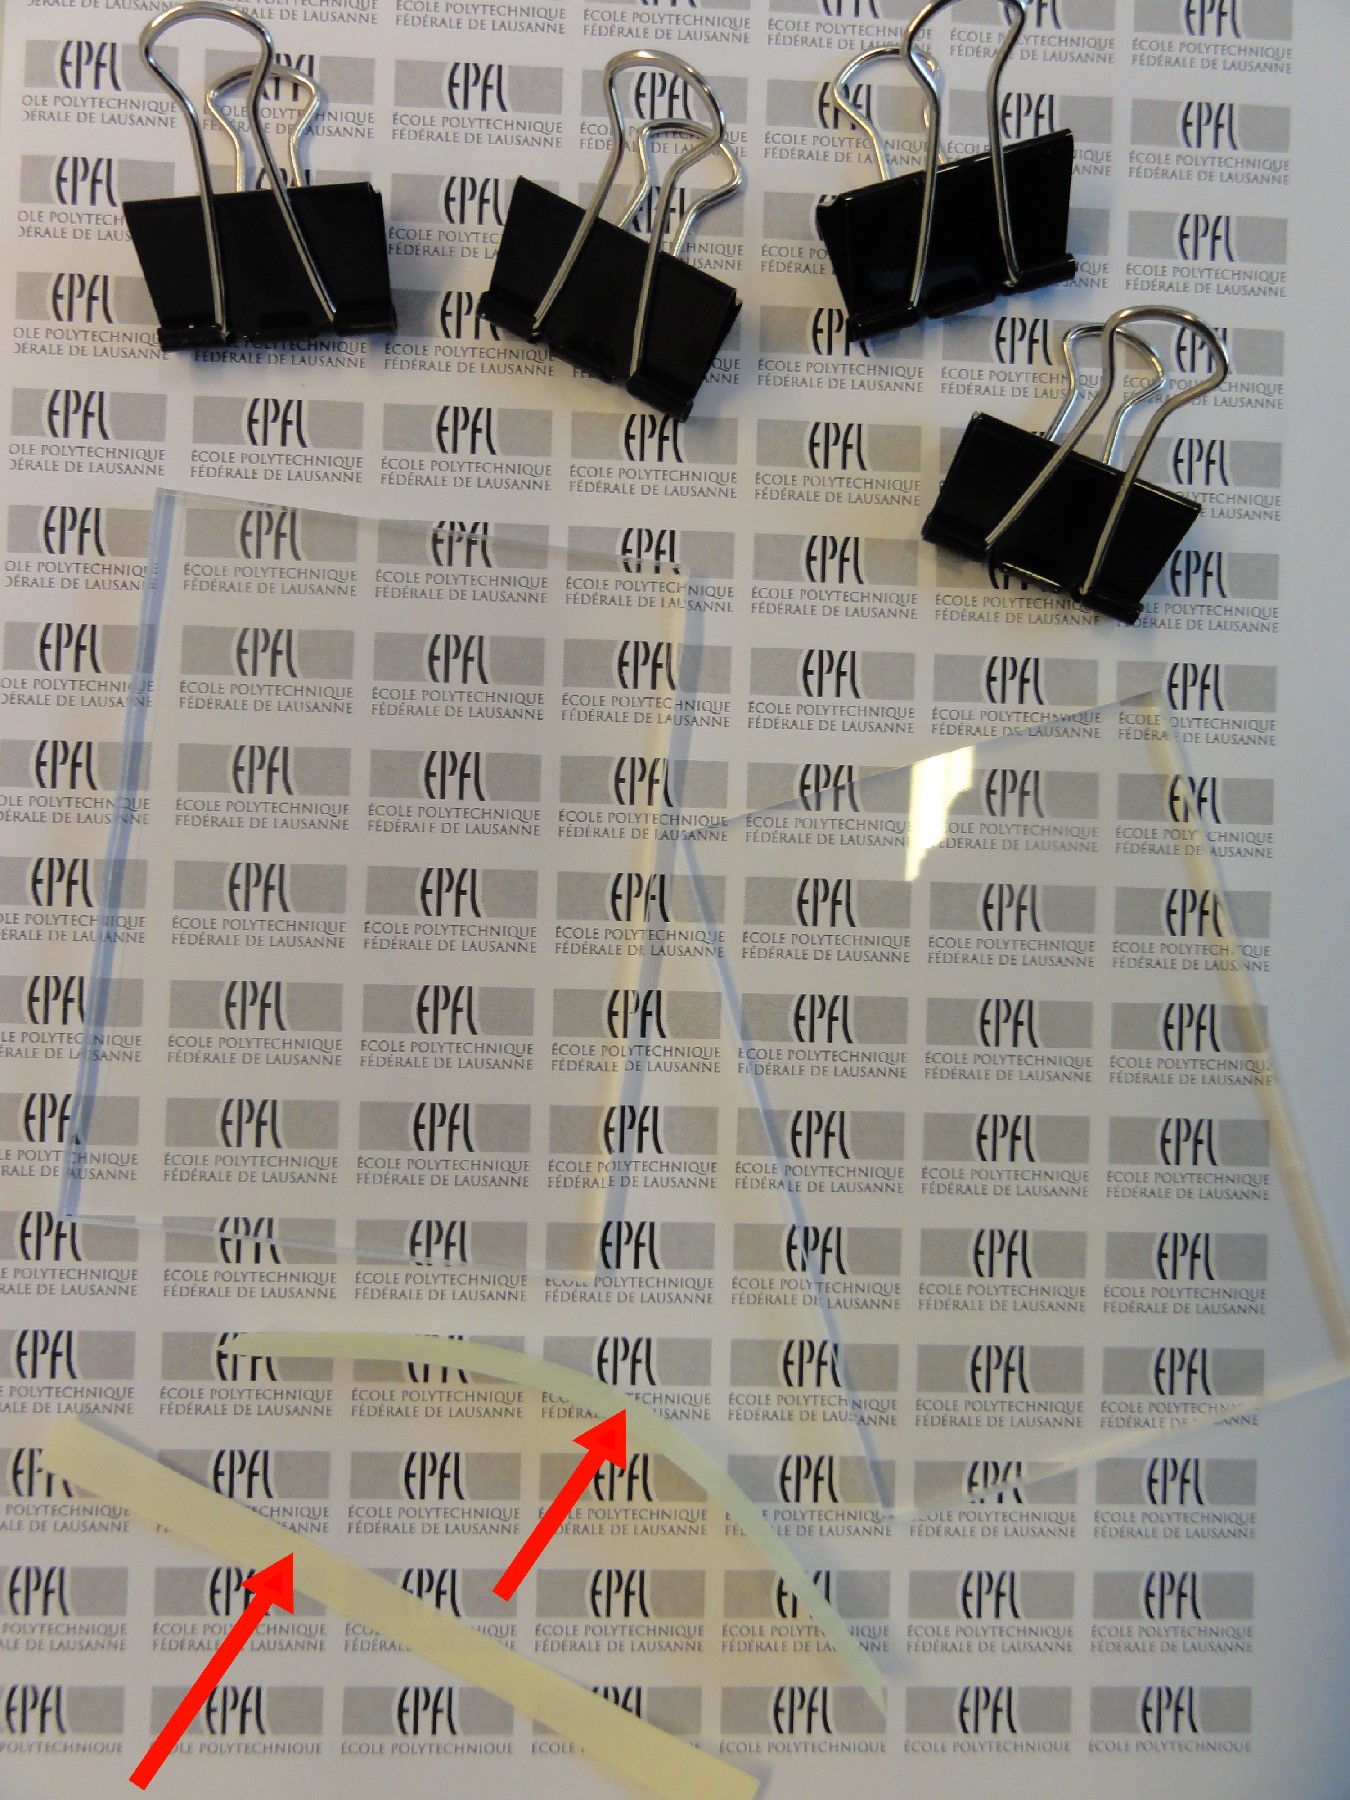
Fig.1 Materials needed: paper clamps, rigid plates and pieces of film (red arrows)
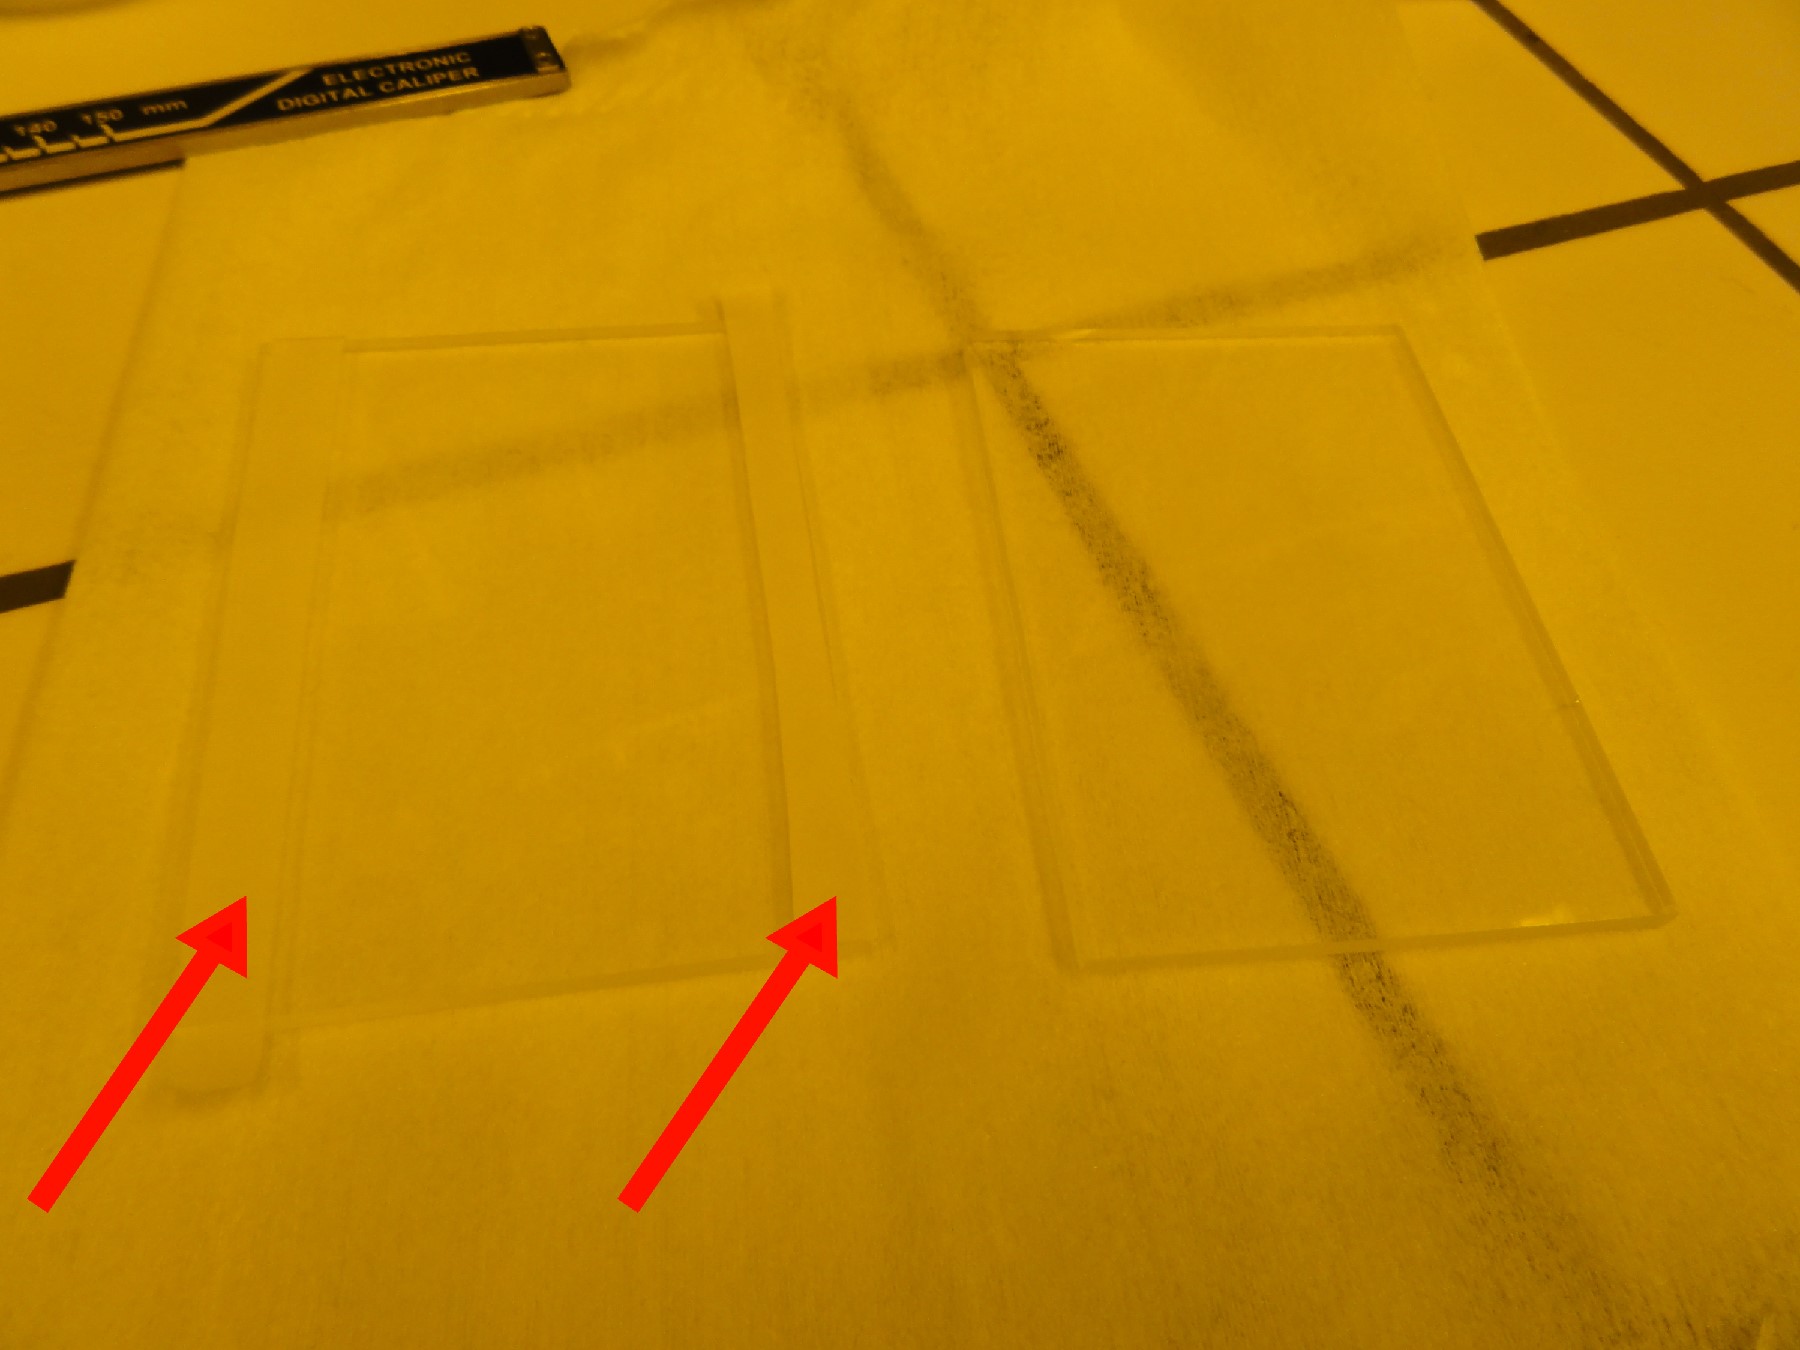
Figure 2. Pieces of film (red arrows) positioned close to the edges of the rigid plate shown on the left.
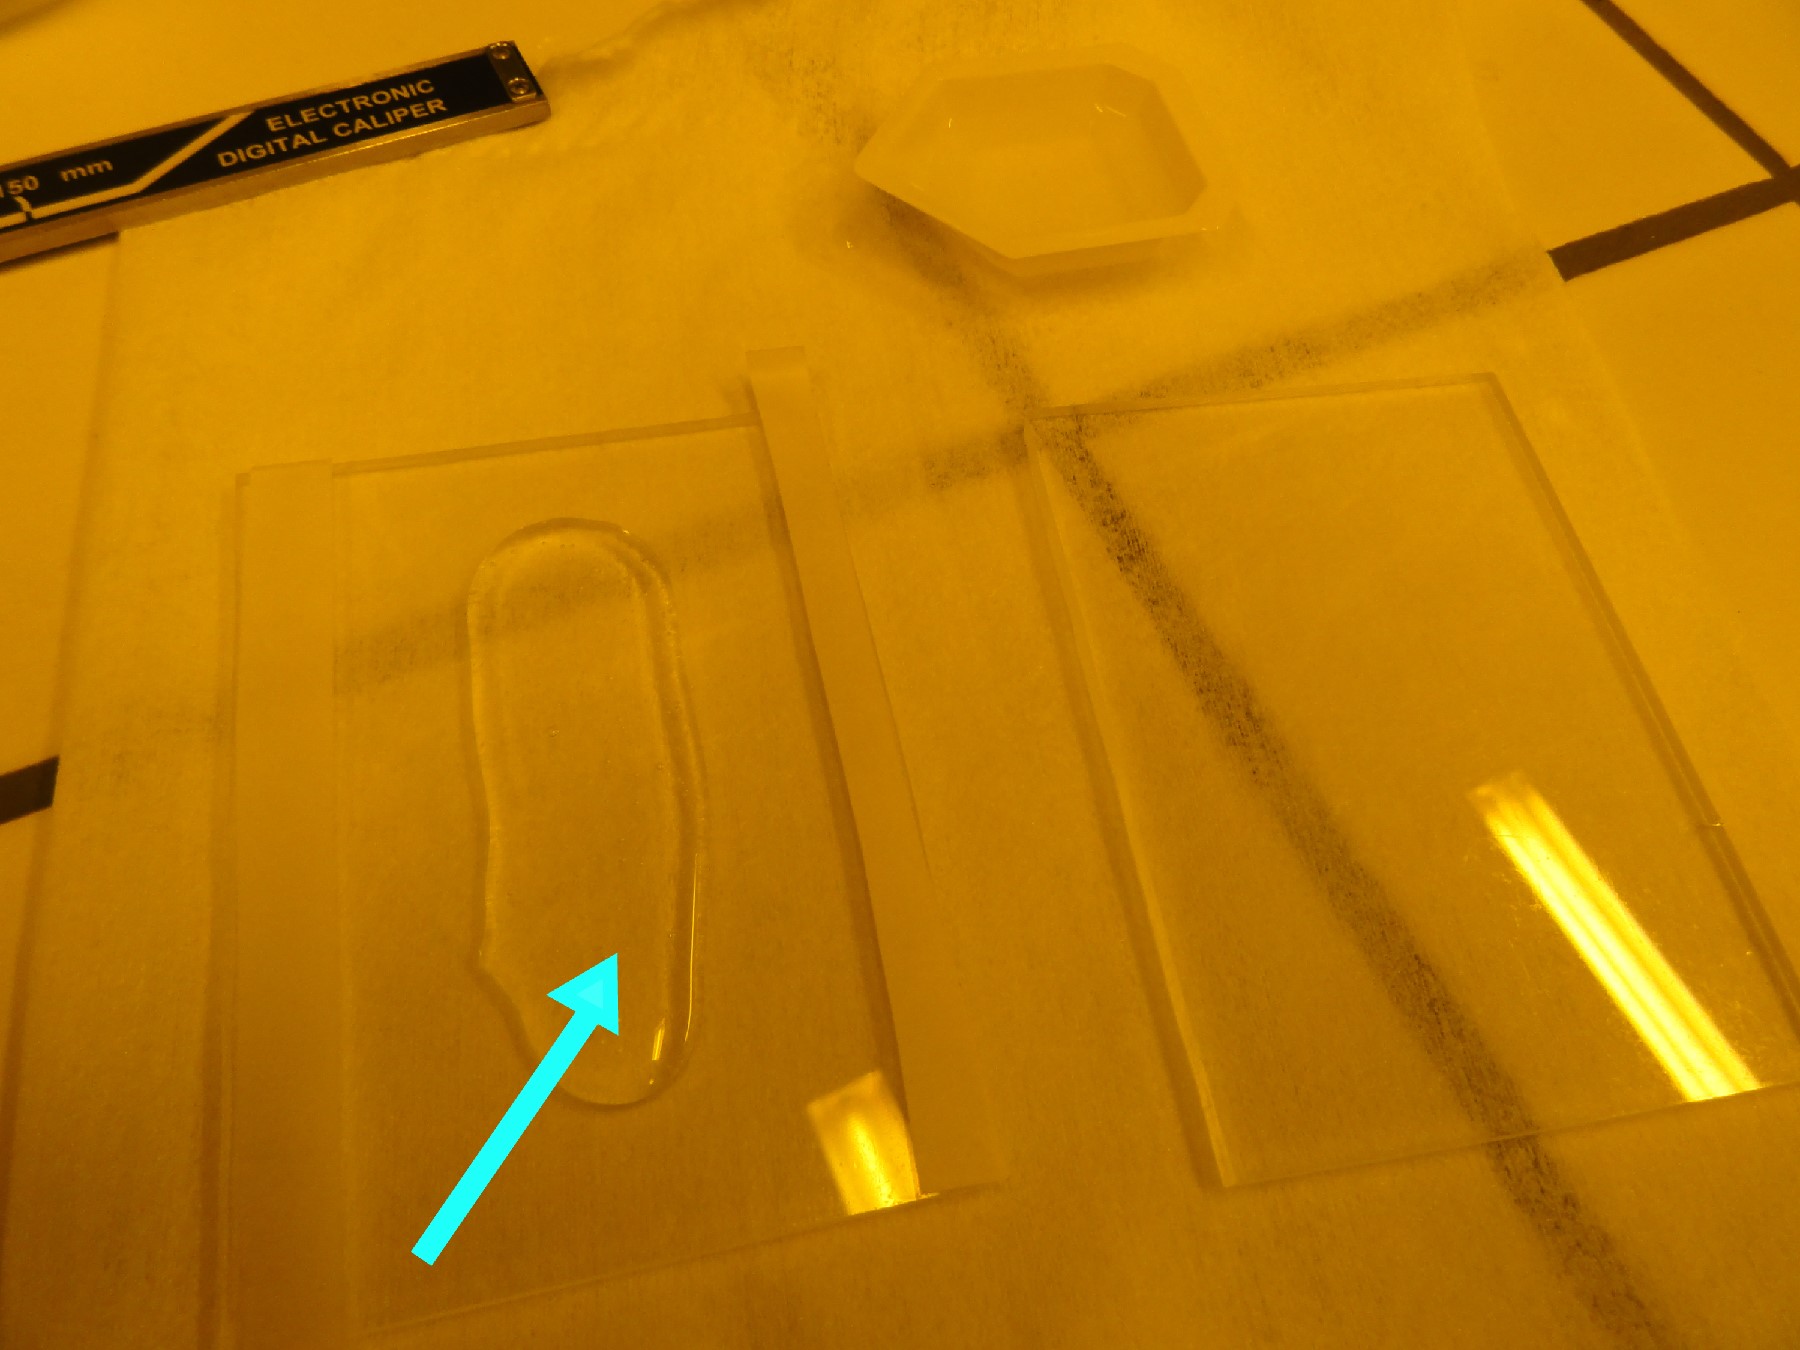
Figure 3. Manually deposited PDMS (blue arrow) on one of the plates
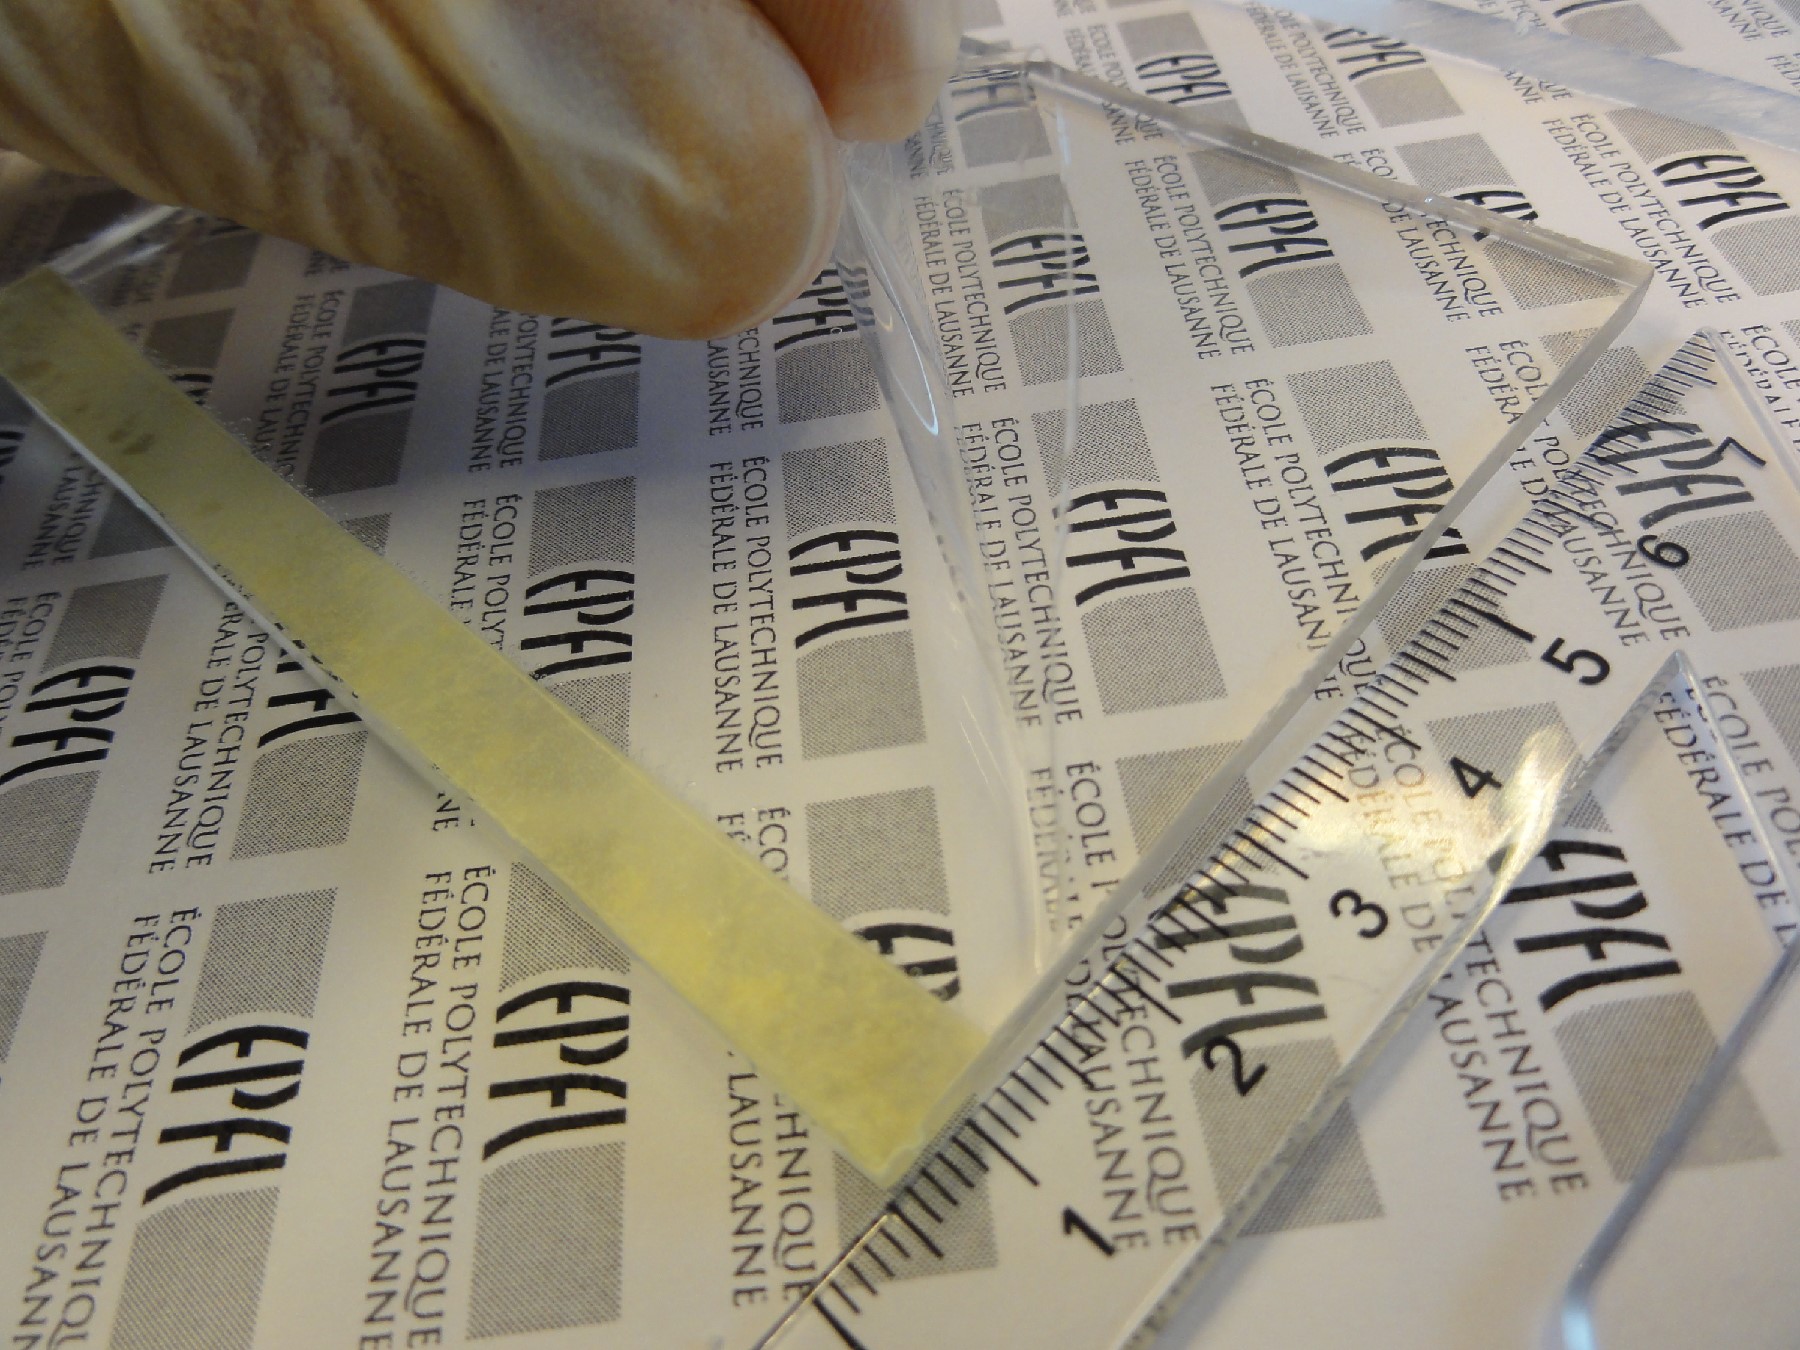
Figure 4. Squeezed PDMS between rigid plates using paper clamps
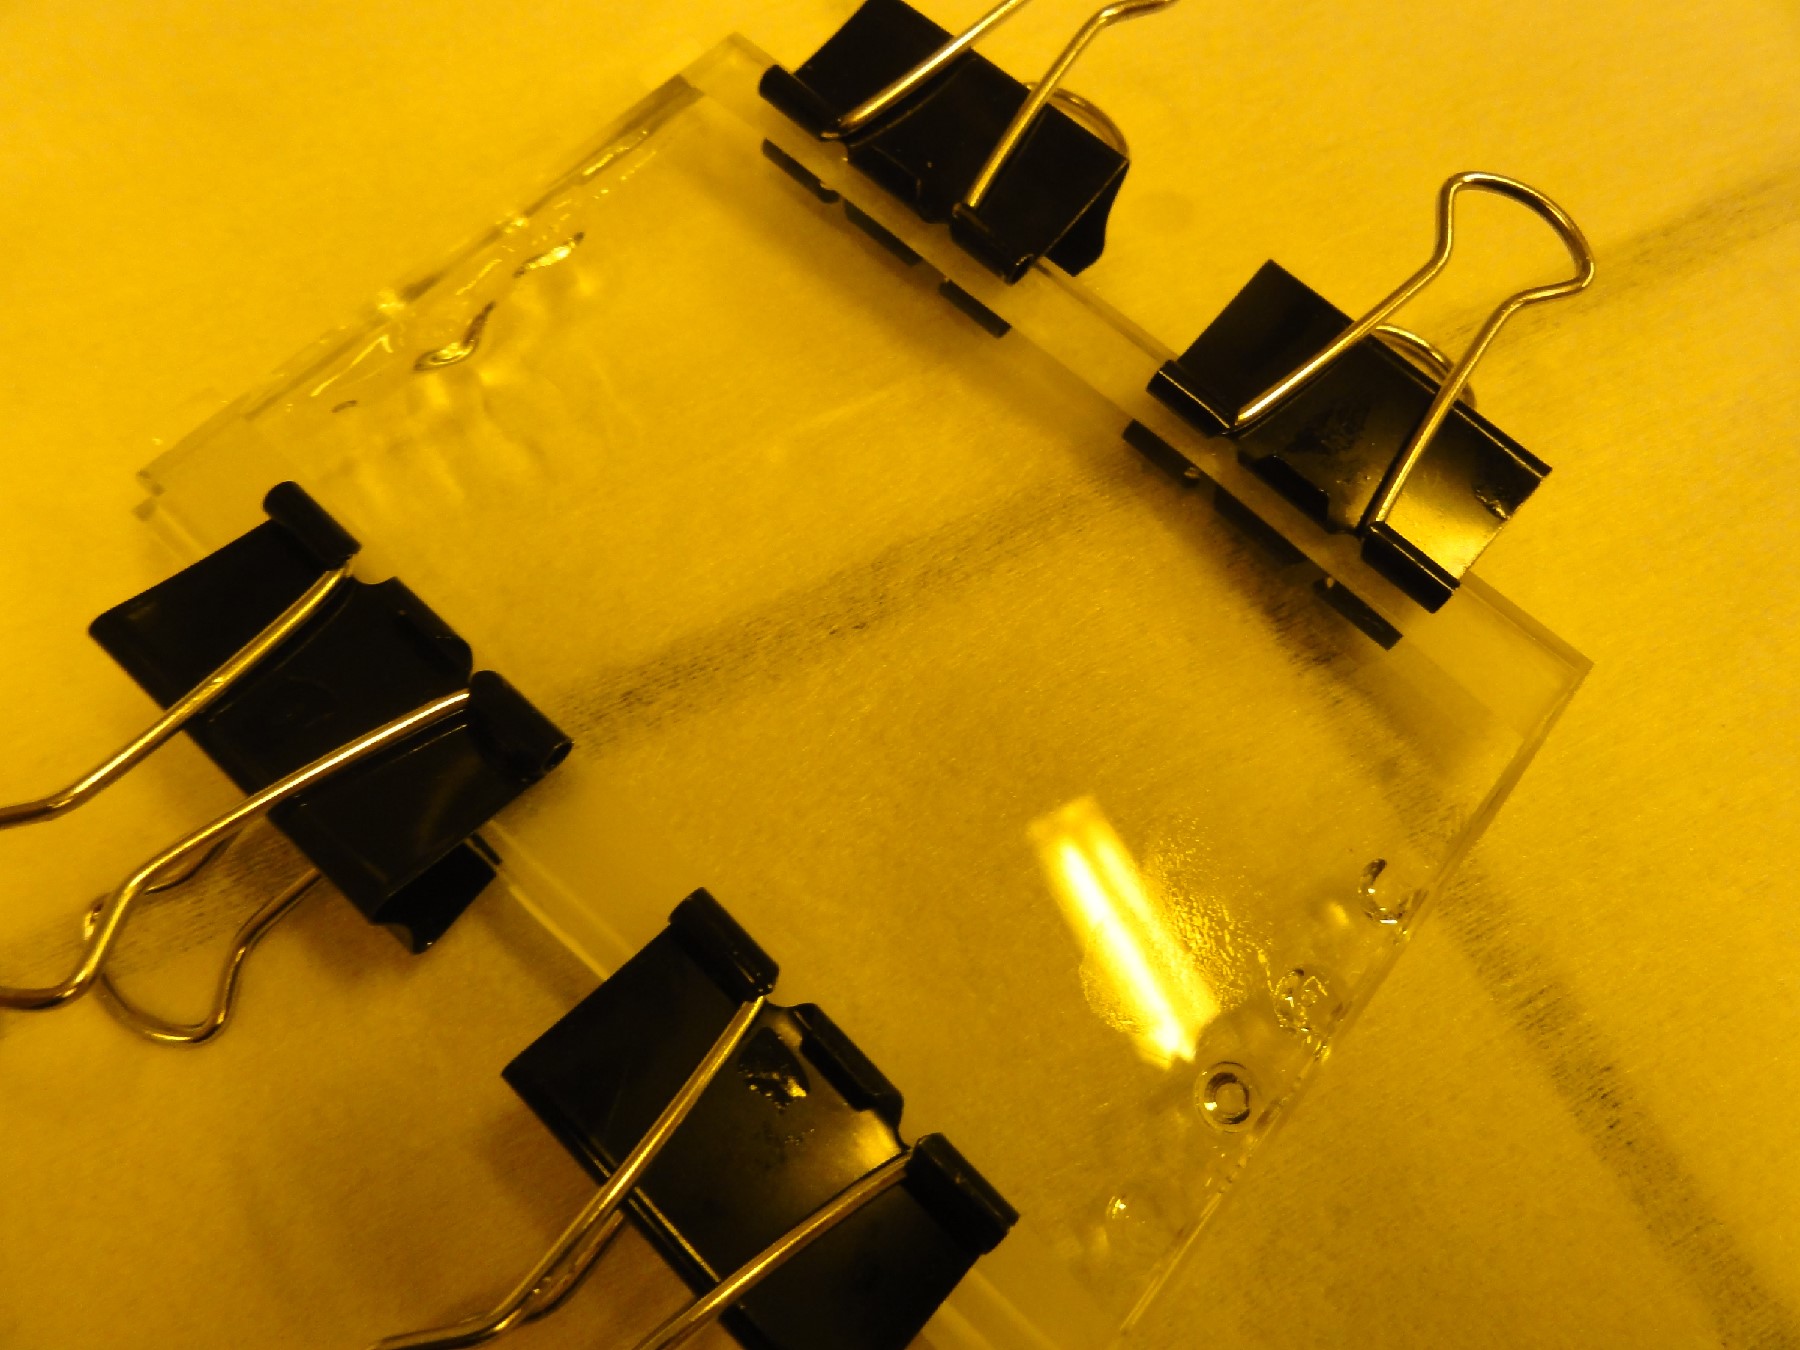
Figure 5. Release of the PDMS film from one of the plates after it has been cross-linked by heating
References
[1] Aung K. Soe and Saeid Nahavandi, Degassing a PDMS mixture without a vacuum desiccator or a laboratory centrifuge and curing the PDMS chip in an ordinary kitchen oven, Chips & Tips (Lab on a Chip), 26 May 2011.


")