Rajan Kumar, Robin L. Smith and Michael G. Pappas
Genome Data Systems, Inc., Hamilton, NJ 08610, USA
This Tip describes a useful variation on Holmes and Goddard’s method for rapid fabrication of microfluidic devices.[1]
Why is this useful?
Often, researchers need simple microfluidic devices with uniform height fabricated at short notice. Researchers also need to form channels to enclose materials deposited on glass surfaces, such as microarrays. A number of rapid prototyping methods are not compatible with these requirements. Holmes and Goddard have described an easy method for such preparing microfluidic flow systems.[1] We present a modification of this method using 3M double-sided permanent tape and heat curing with an inexpensive heat press. The resulting devices have a uniform height of ~80 micrometers. We have used such devices for microparticle assays and fluorescence microarrays in our laboratory.
What do I need?
- Glass slide or other bottom plate substrate, e.g. plastic
- Top plate substrate
- 3M double-sided permanent tape 665 [2]
- 3M double-sided removable tape 667
- HobbyLite® T-shirt transfer press (Hix Corp., Pittsburg, KS)
- Cutting board, razor blade, tweezers
What do I do?
1. Turn on the HobbyLite press and allow it to reach a temperature of about 100°F.
2. Draw the outline of the bottom plate (glass slide) on the cutting board. Draw the channel outline within the bottom plate outline.
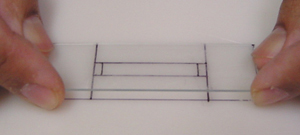
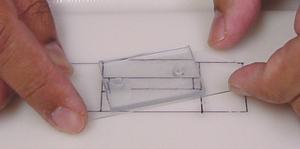
3. Attach the glass slide to the cutting board over the outline using a piece of removable, double-sided tape (Figure 1). This step prevents the glass slide from moving.
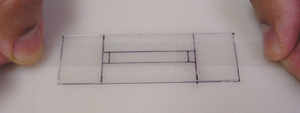
4. Attach a piece of double sided permanent tape to the top of the glass slide, covering the channel outline and leaving enough space on all sides of the channel for bonding (Figure 2).
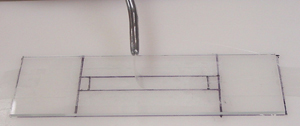
5. Cut out the double-sided tape from the channel outline using a sharp razor blade (Figure 3).
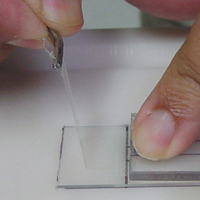
6. Lift one corner of the tape cut-out using the edge of the razor blade, then lift the tape cut-out with the tweezers (Figure 4).
7. Place the top plate on the slide, carefully aligning ports with the channel. Press down to ensure adhesion.
8. Cut excess double-sided permanent tape from each end of cover plate and remove with tweezers (Figure 5).
9. Gently twist and lift the glass slide off the cutting board (Figure 6).
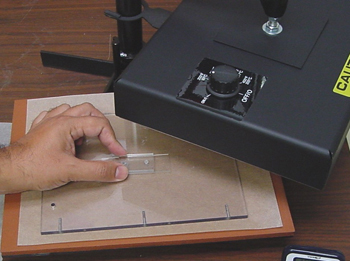
10. Place the assembly in the HobbyLite press and gently apply pressure for 5-10 minutes (Figure 7). Be careful not to apply too much pressure or glass materials may crack.
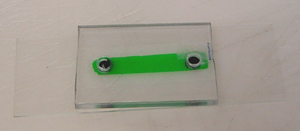
11. Remove the assembly from the press and allow it to cool to room temperature before use (~15 minutes). A completed device chamber filled with dye is shown in Figure 8.
Acknowledgements
This research is funded by an NIH grant GM078945 awarded to Genome Data Systems, Inc.
References
1. R. J. Holmes and N. J. Goddard, Rapid prototyping of microfluidics, Chips & Tips (Lab on a Chip), 15 February 2007.
2. 3M Scotch® Double-Coated Tape 665 Permanent.


